I think clay pins are the sweetest thing, even though they might be a bit outdated. I love how sweet they are, and I especially like how easy they are to make: in theory. Join me on my journey towards making some half-decent pins! Cheers!
The First Pin: Salvatore!
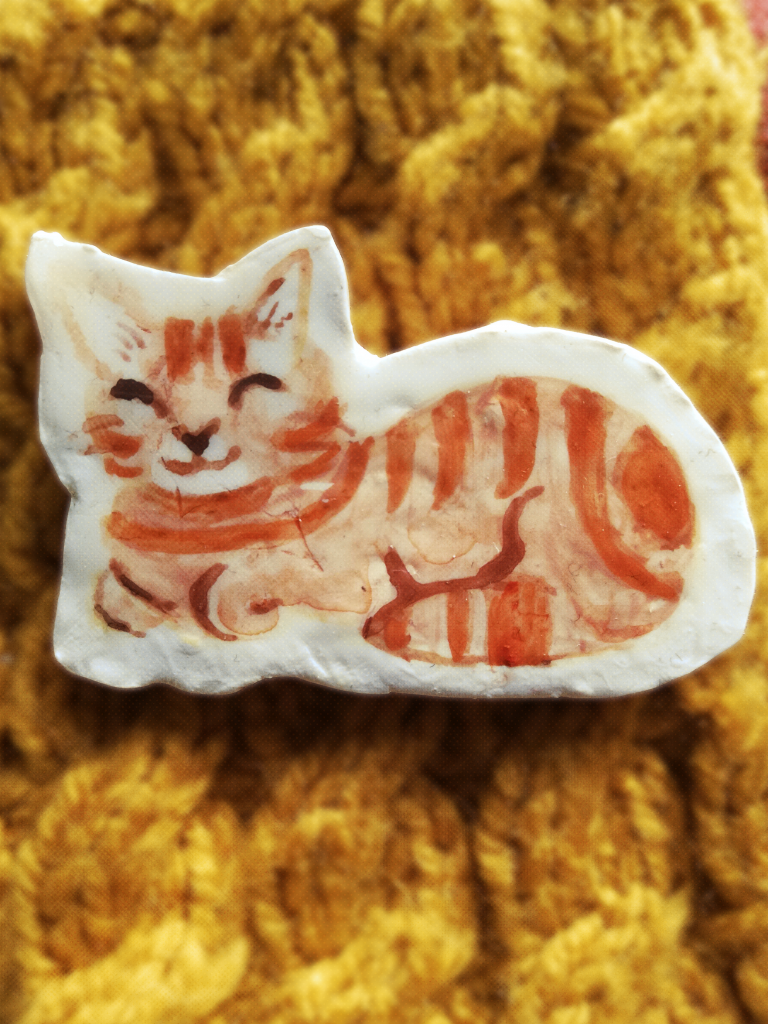
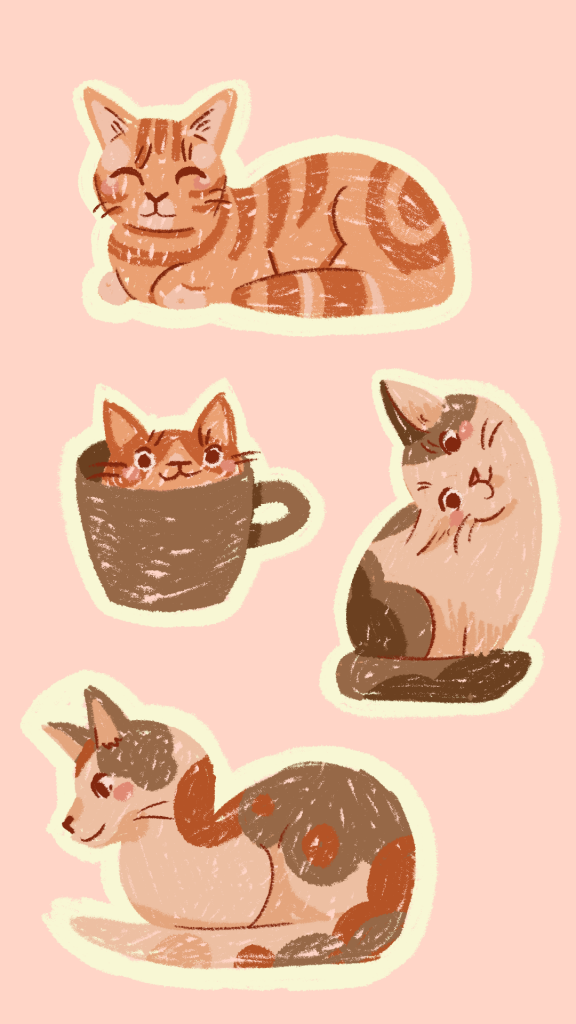
Salvatore was a darling homeless boy at Kattvärnet, who has since been adopted! I was inspired by his little scar and made him my muse for my very first pin. Designing on paper first, I delicately painted his little face with gouache, pencils, and watercolour. Then, I shaped the clay, baked it, sanded it and painted those same details on the clay. After sealing and adding a pin back, he was done.
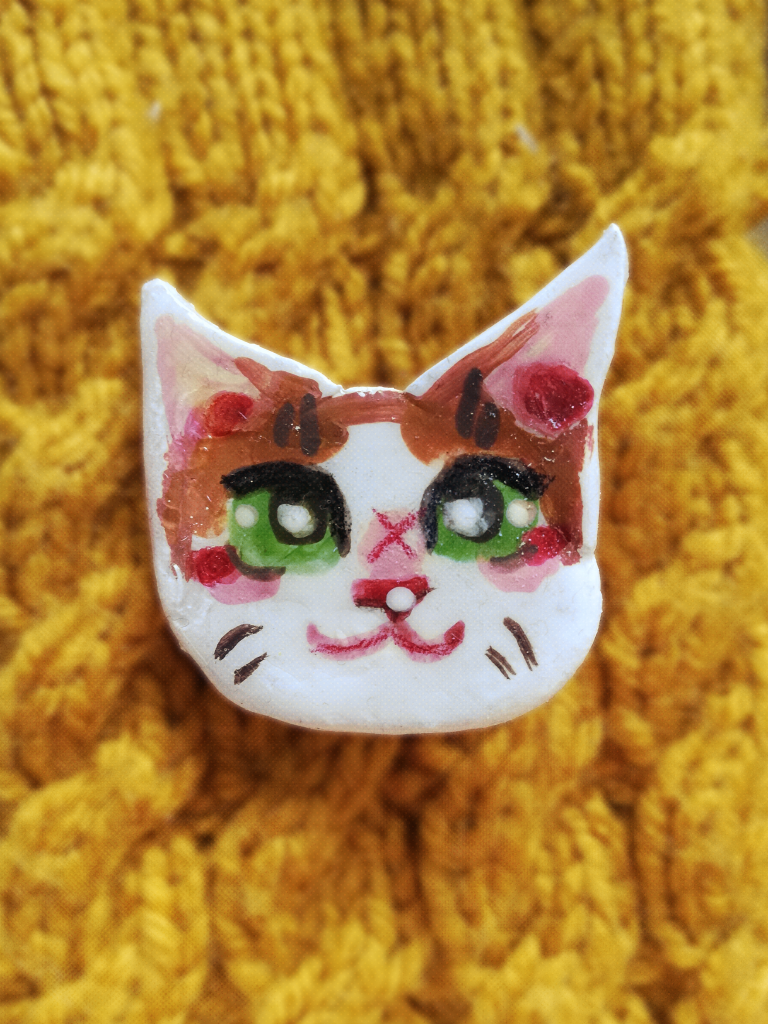
The next few attempts followed in a similar fashion!
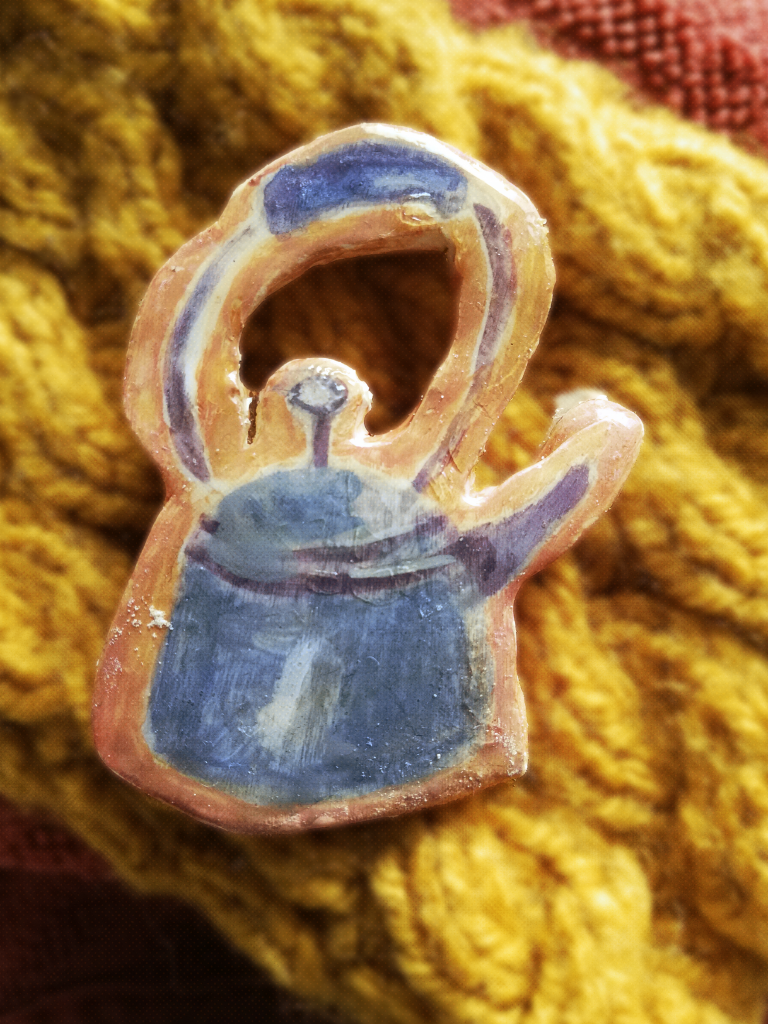
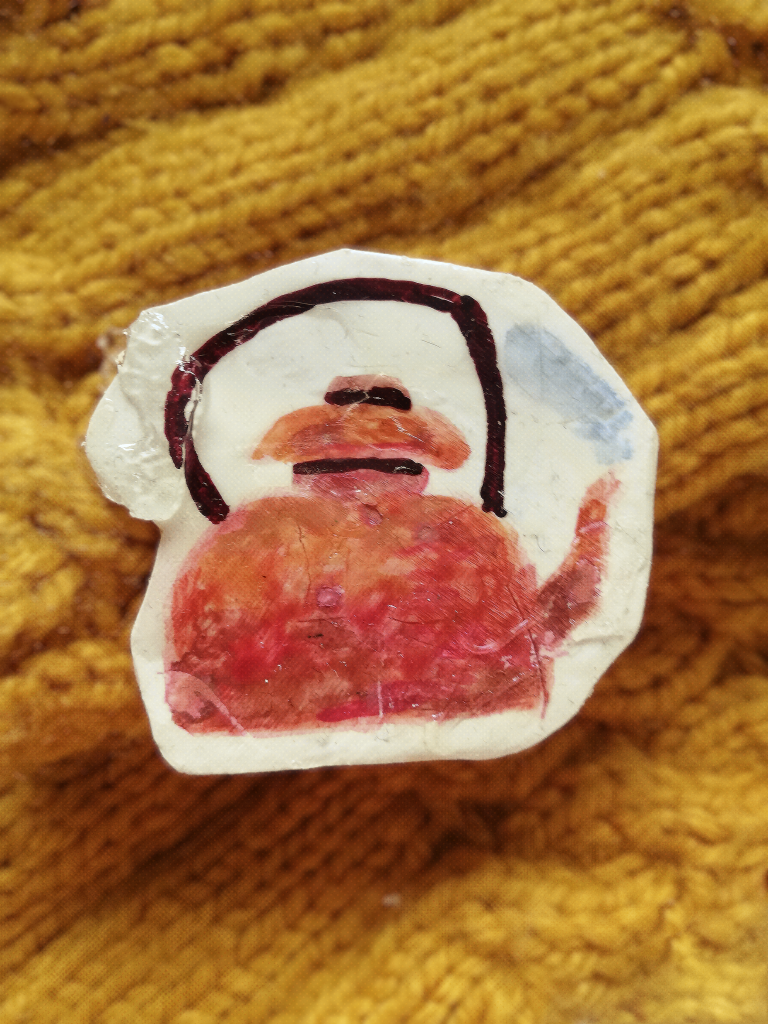
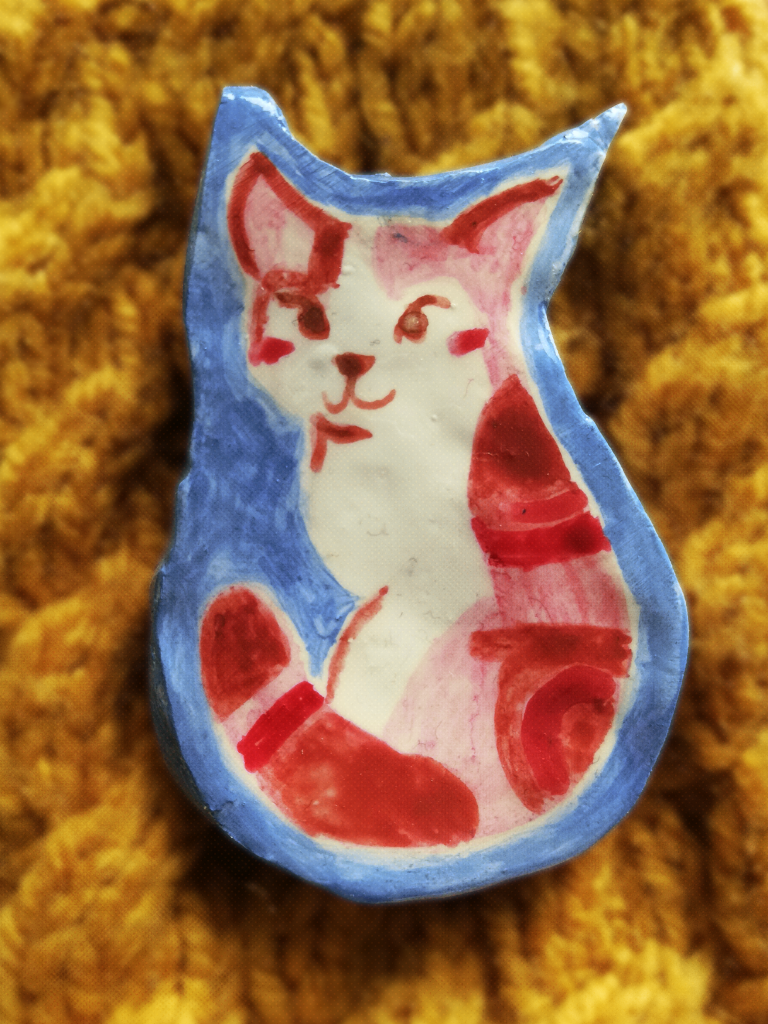
Workflow: What Worked & What Didn’t!
What Worked:
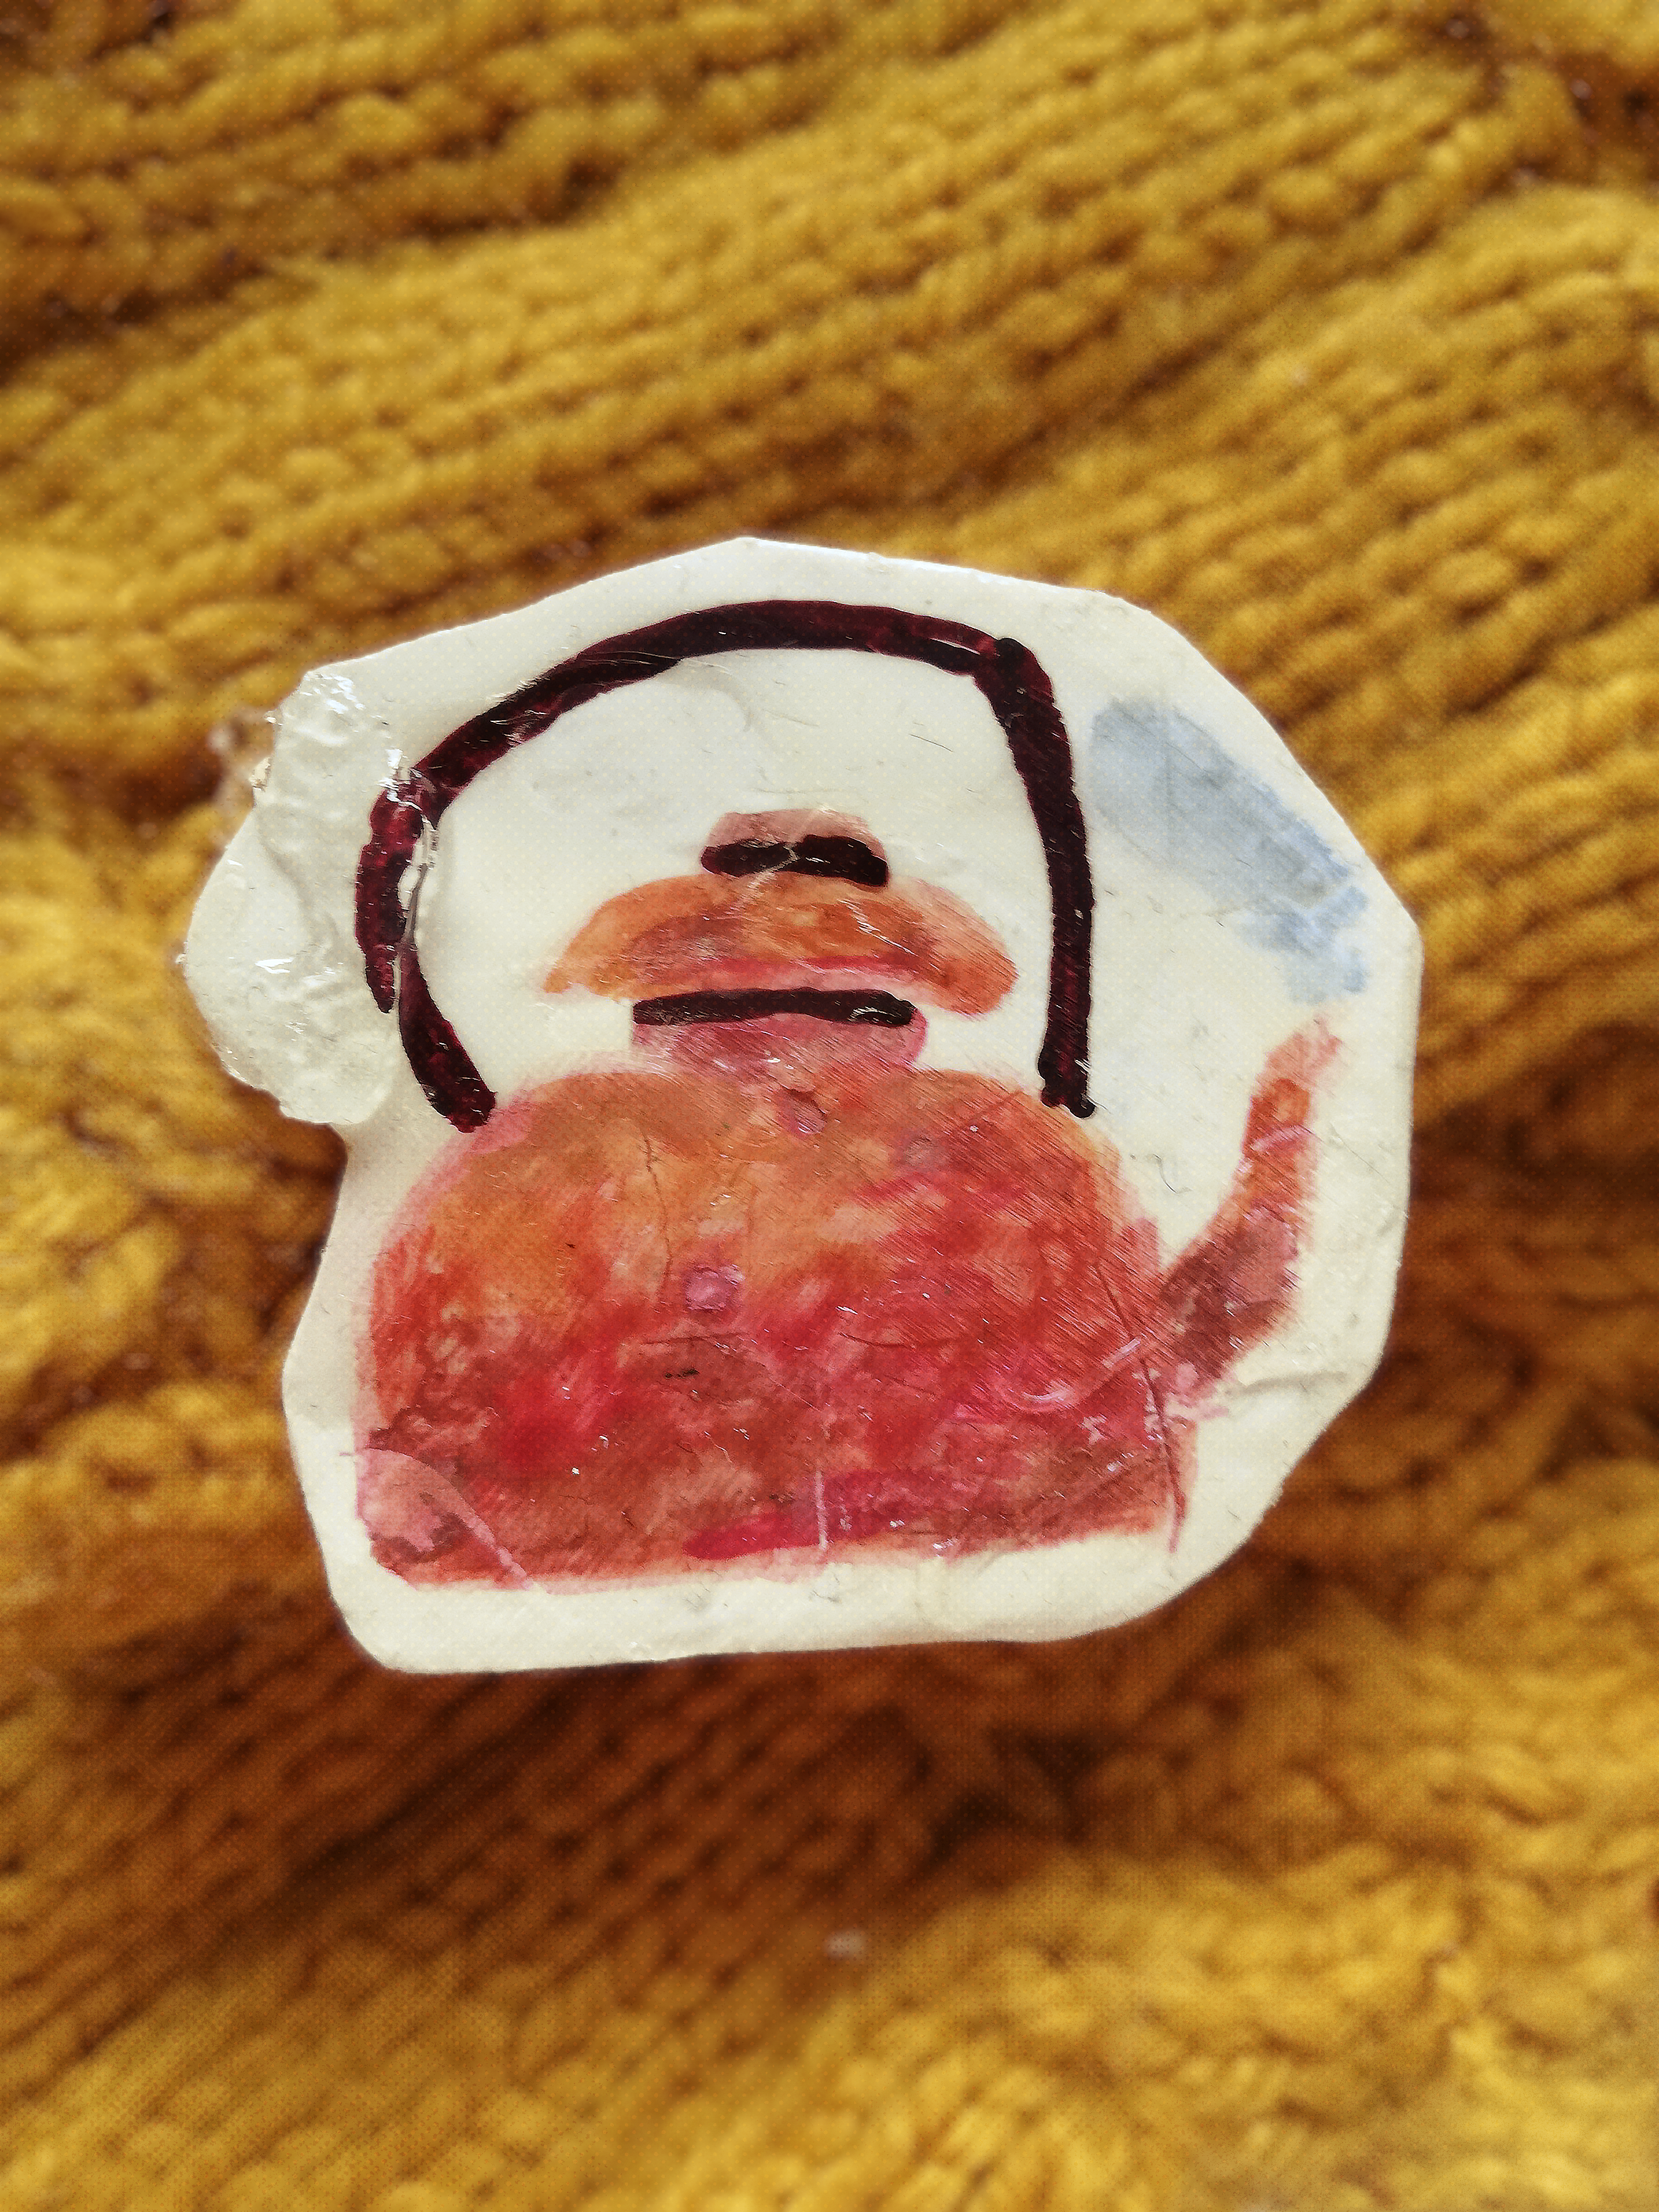
Gouache, Watercolour, acrylic and Posca Pens Work phenomenally well on polymer clay. The application was difficult on such small scales, but it worked.
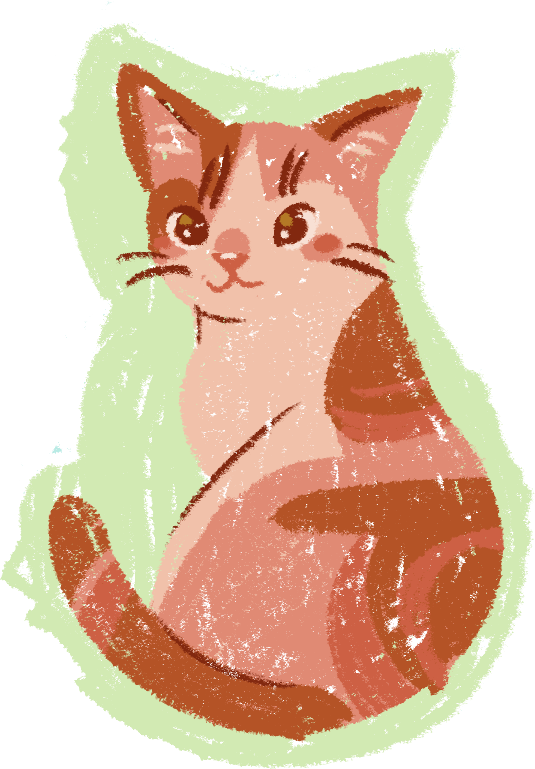
The themes of the pins were very successful. They were cute, and did the job I wanted them to do. When I design digitally, it makes it simple to perfect and simplify the design, so it translates well across mediums.
Epoxy Resin is fantastic for protecting the art, but it’s sticky and makes the finish sticky and uneven for a long time. Any dust sticks like glue!
Pencils didn’t work on top of a layer of paint: but worked fine on their own. Thy chipped of paint, suggesting that the surface was too unstable for the pencils
Dremeling left gnarly scratches in the clay. I need to learn how to use these tools in a way that smooths the edges without making scratches.
What I’m going to change:
I’m going to begin 3D printing the clay shapes, so that I touch the clay a minimal amount of times before it bakes. I hope this will prevent the amount of fibres that stick to the clay.
I’m going to make the pins simpler and smaller, or more detailed and bigger.
I’m going to brush the resin on in small amounts, as opposed to pouring it on. I hope this decreases the cure time, so that is hardens quickly and there is no risk of stickiness.
I hope that I won’t need to sand the clay as much when I use cutters to cut the clay.
UV Resin, when I actually have some money, maybe.
Leave a Reply